I admit I love making cards, but I adore making small paper-boxes... boxes and purses and bags and you name it . Paper all, this is all about . Is this something known as addictive and nobody told me before :D ?
So, a show of some boxes... in ascending order of dimension :
-the mini ones ;) :


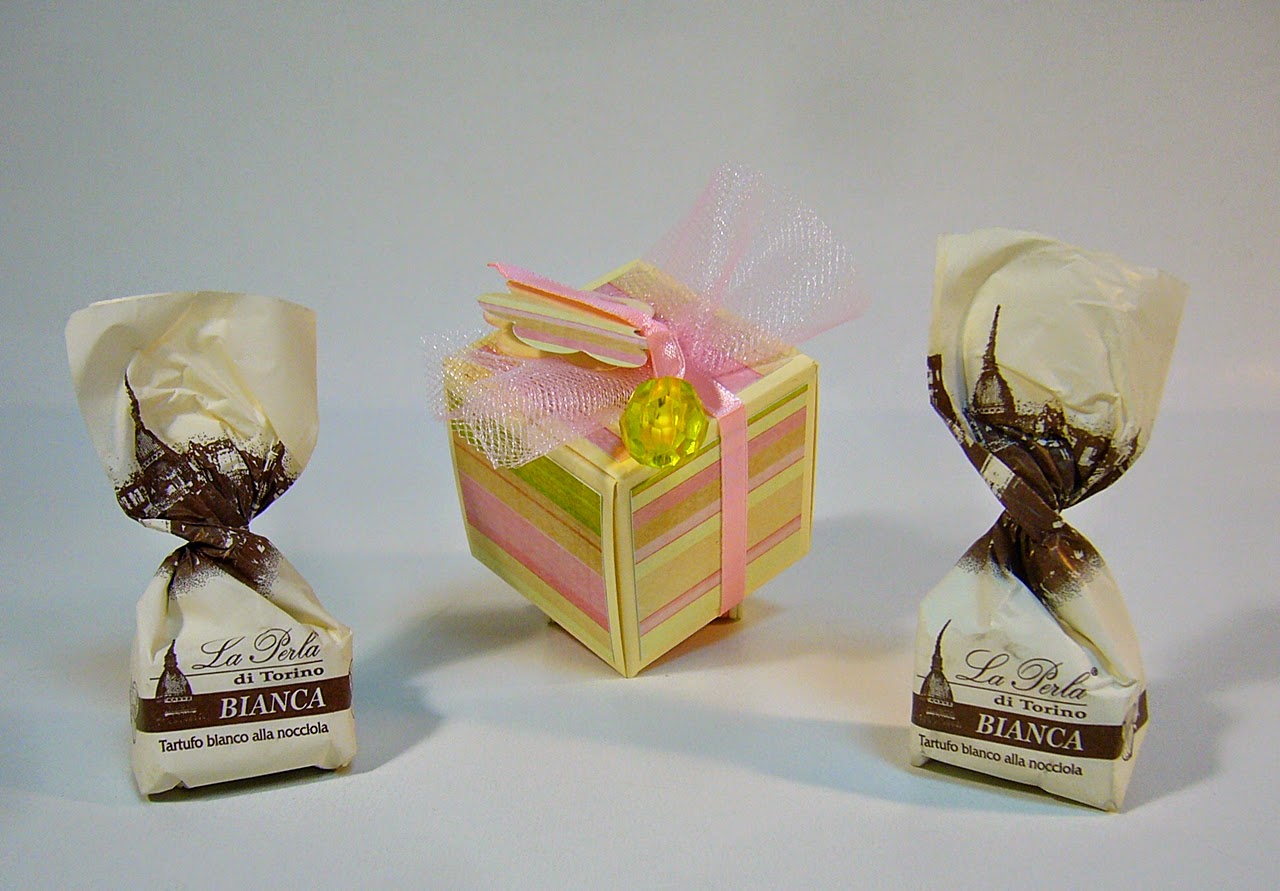


this box model can hold also the same variety of sweets as the previous one... here showing some very fine chocolate candies from Gifts & Gifts :


So, a show of some boxes... in ascending order of dimension :
-the mini ones ;) :
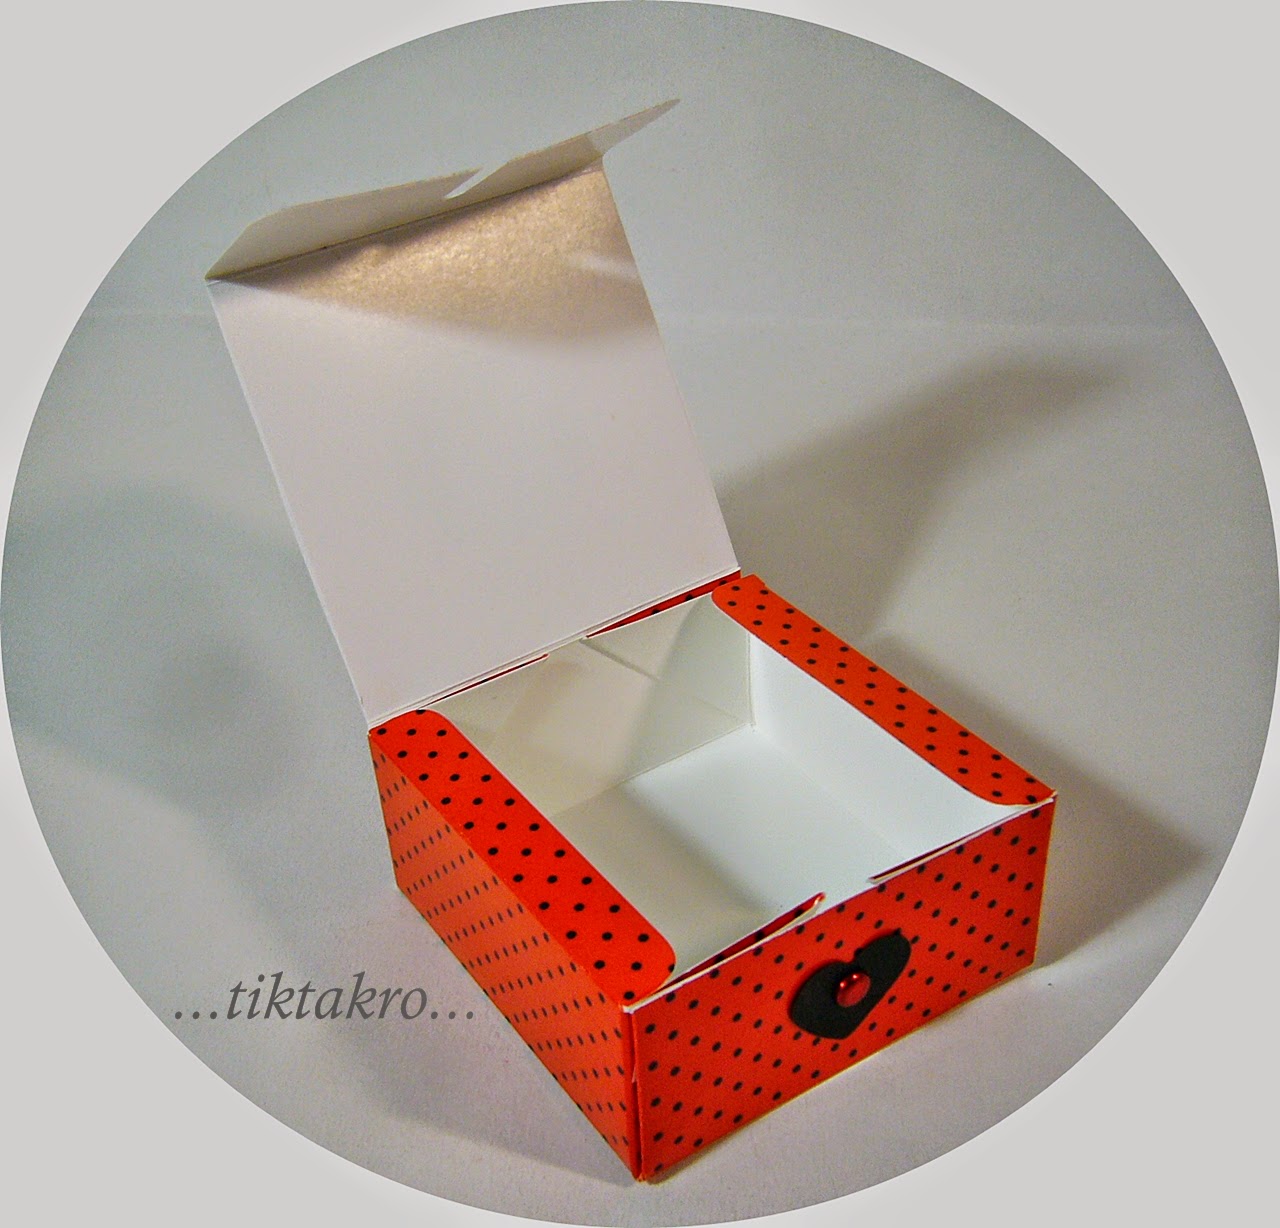
then the girly-party ( or as christening gifts )
this model cand hold a large variety of sweets from Gifts & Gifts . Some examples :
then I changed the colours but not the size of the box. I think that small and pretty is supreme.
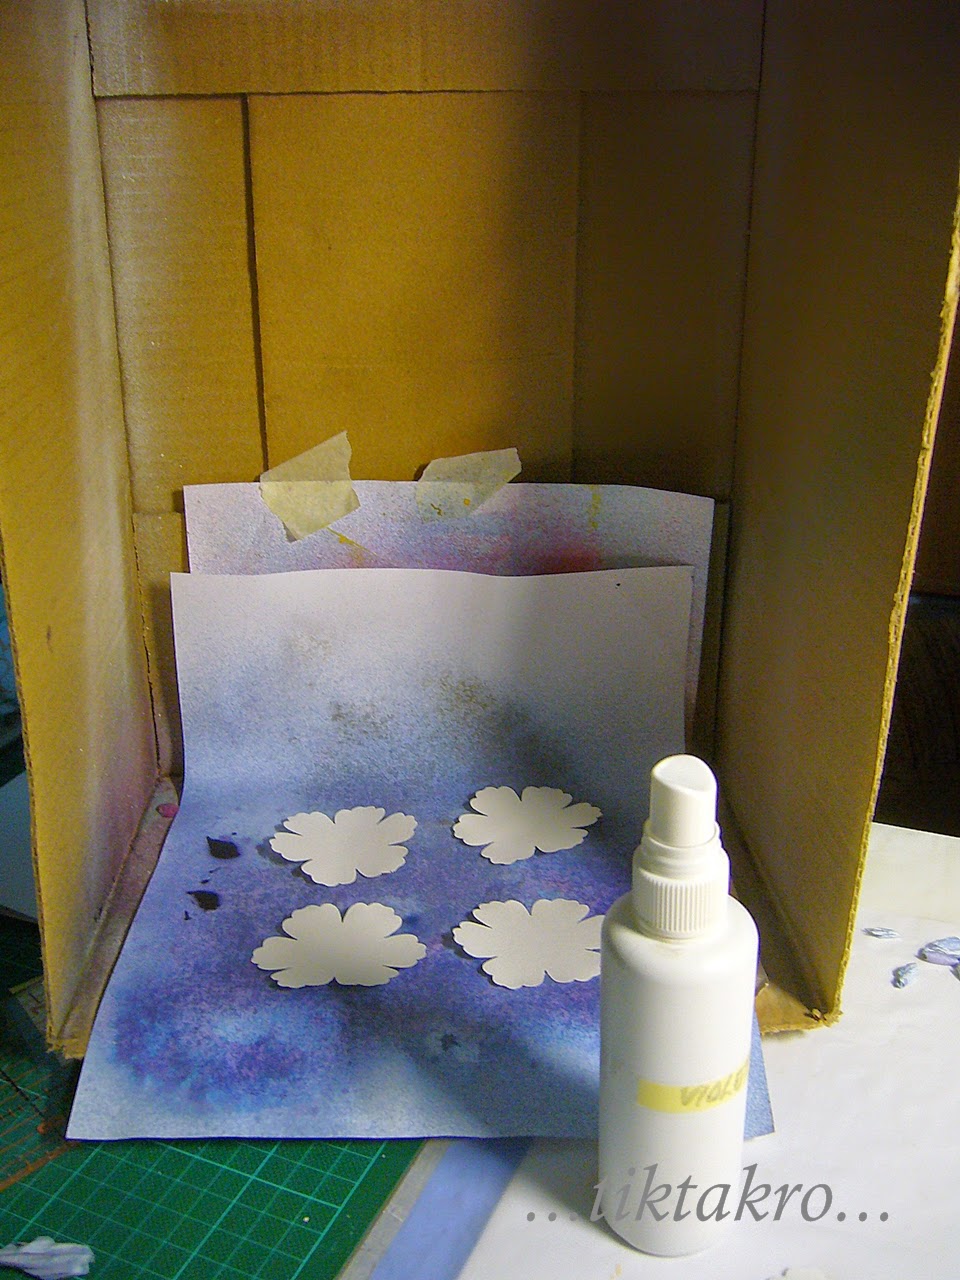
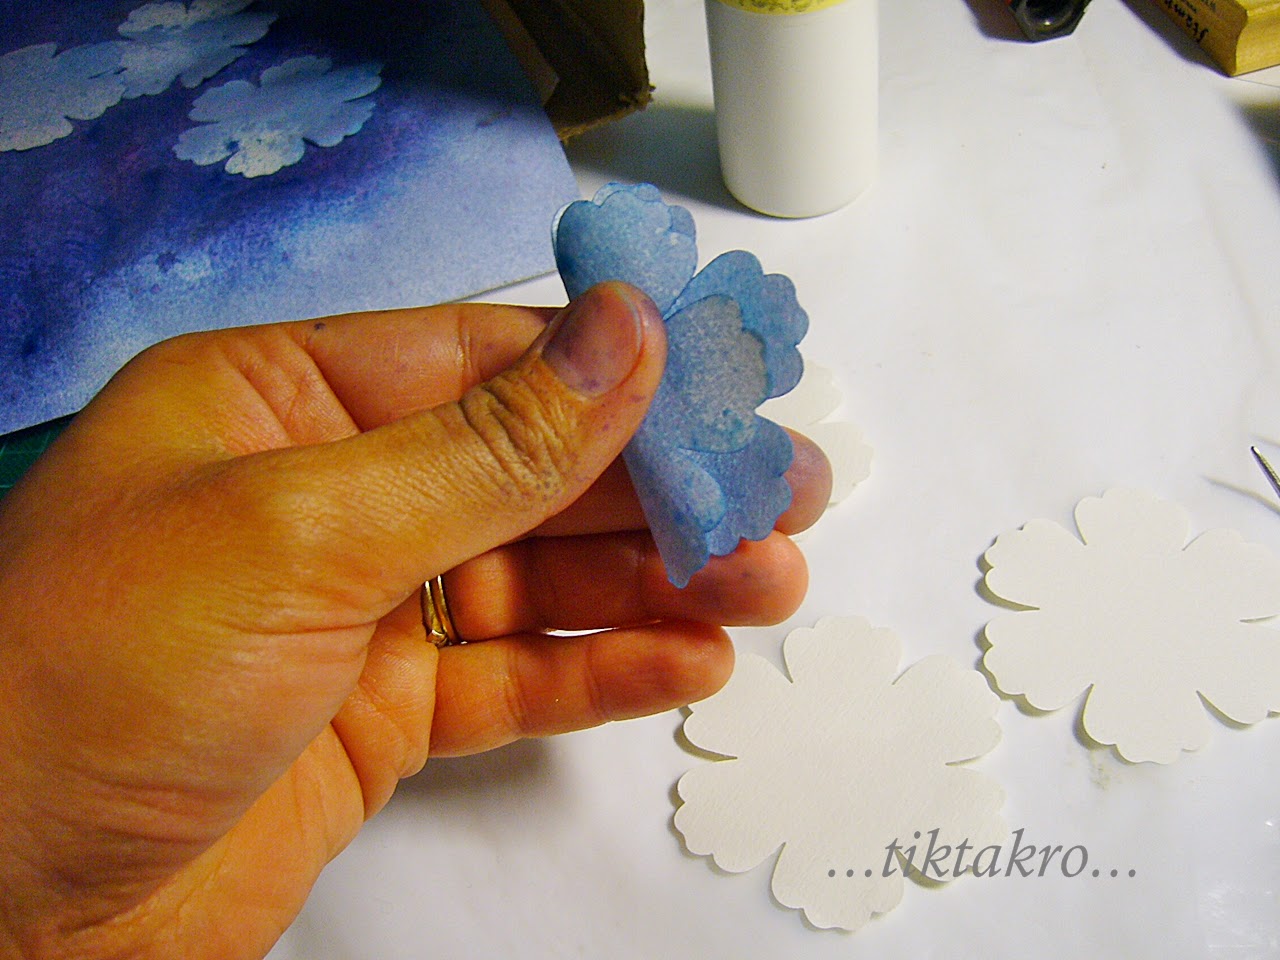
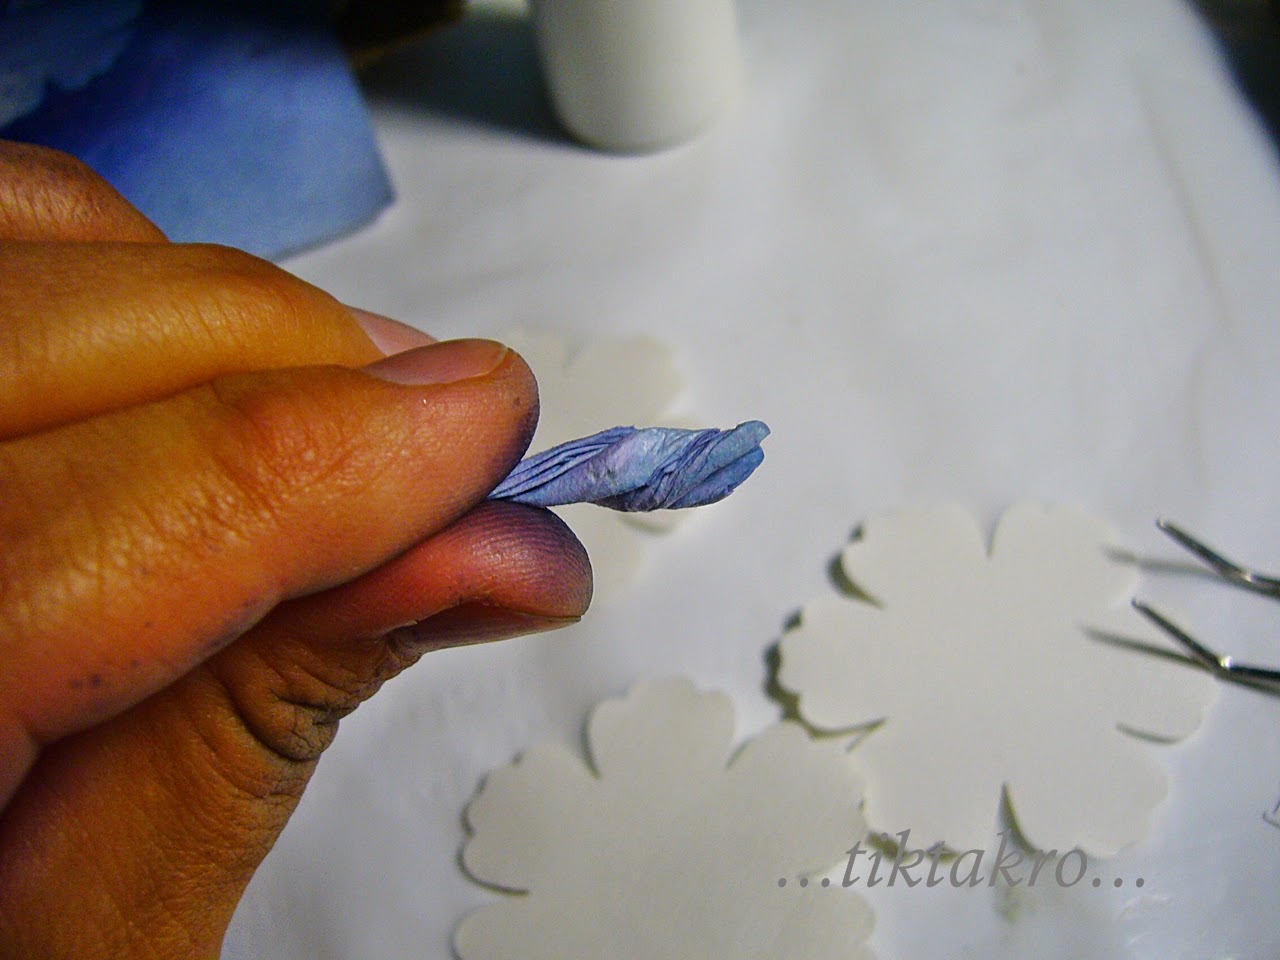
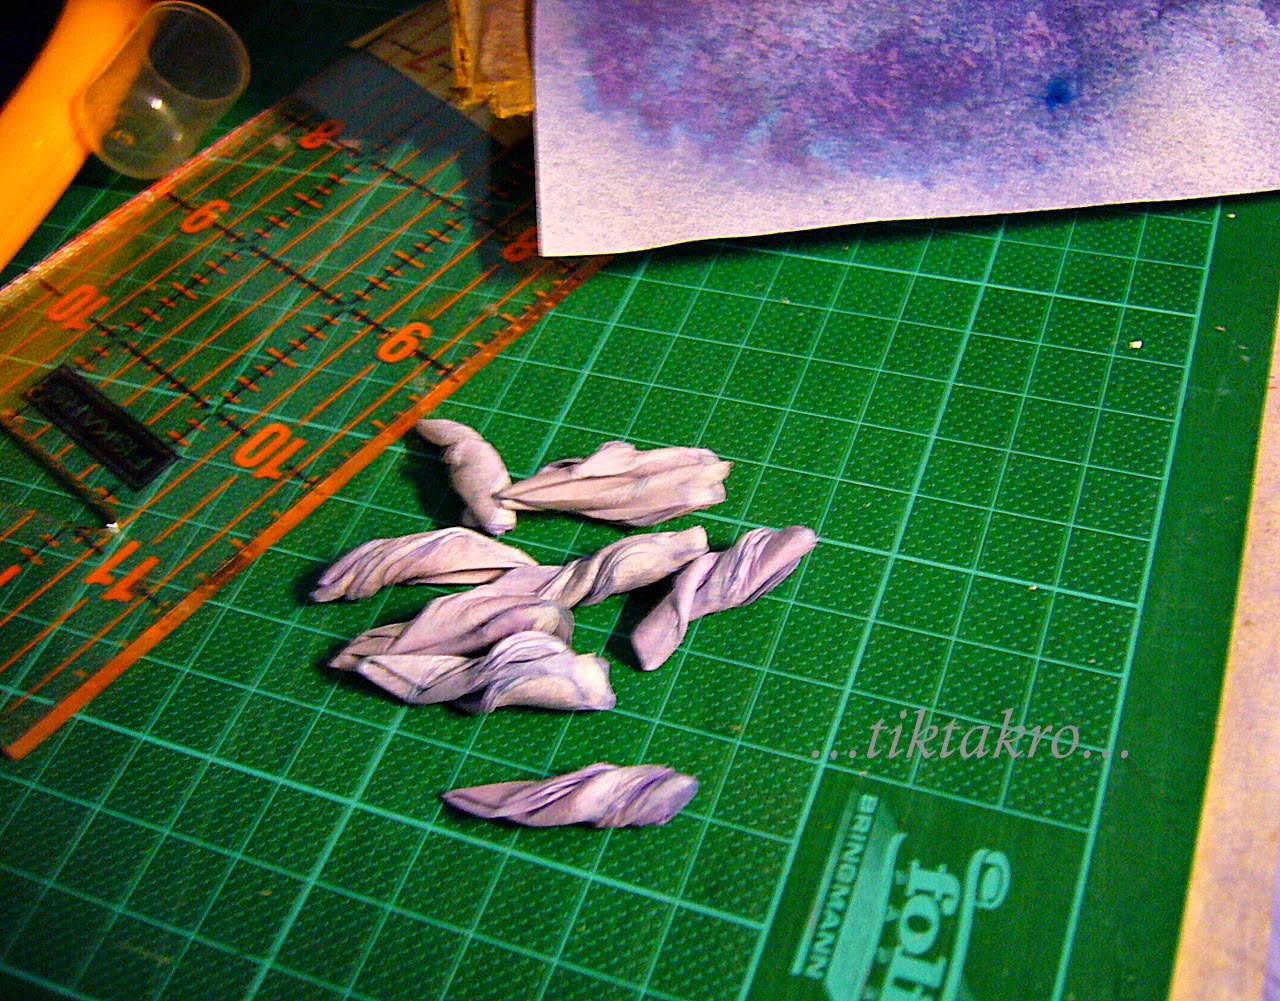
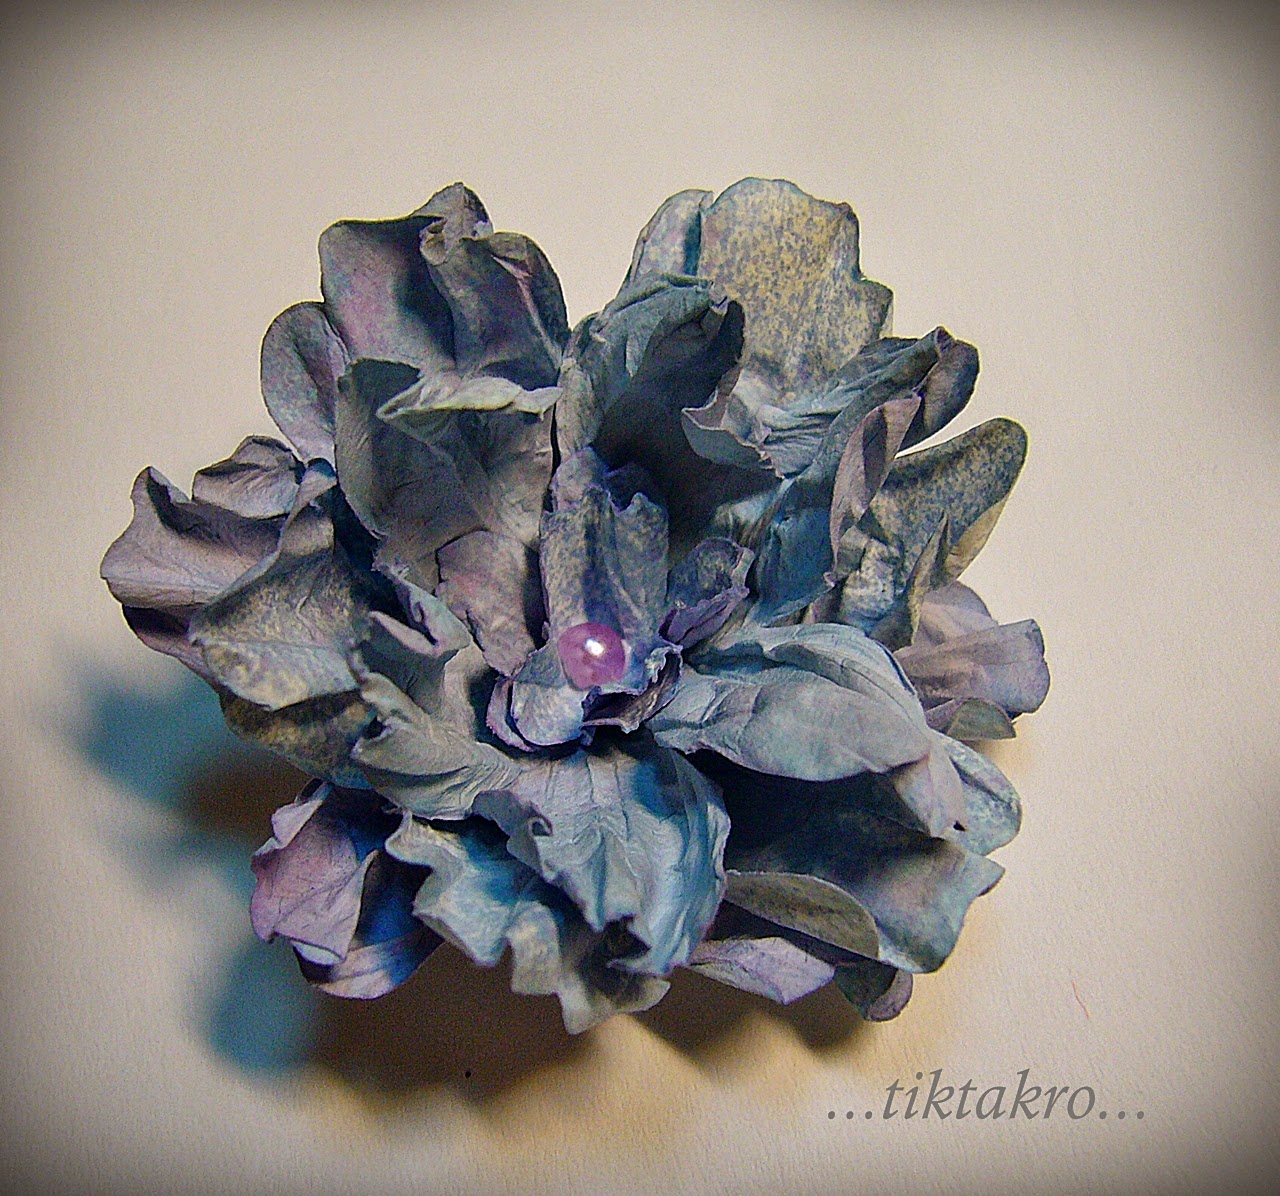
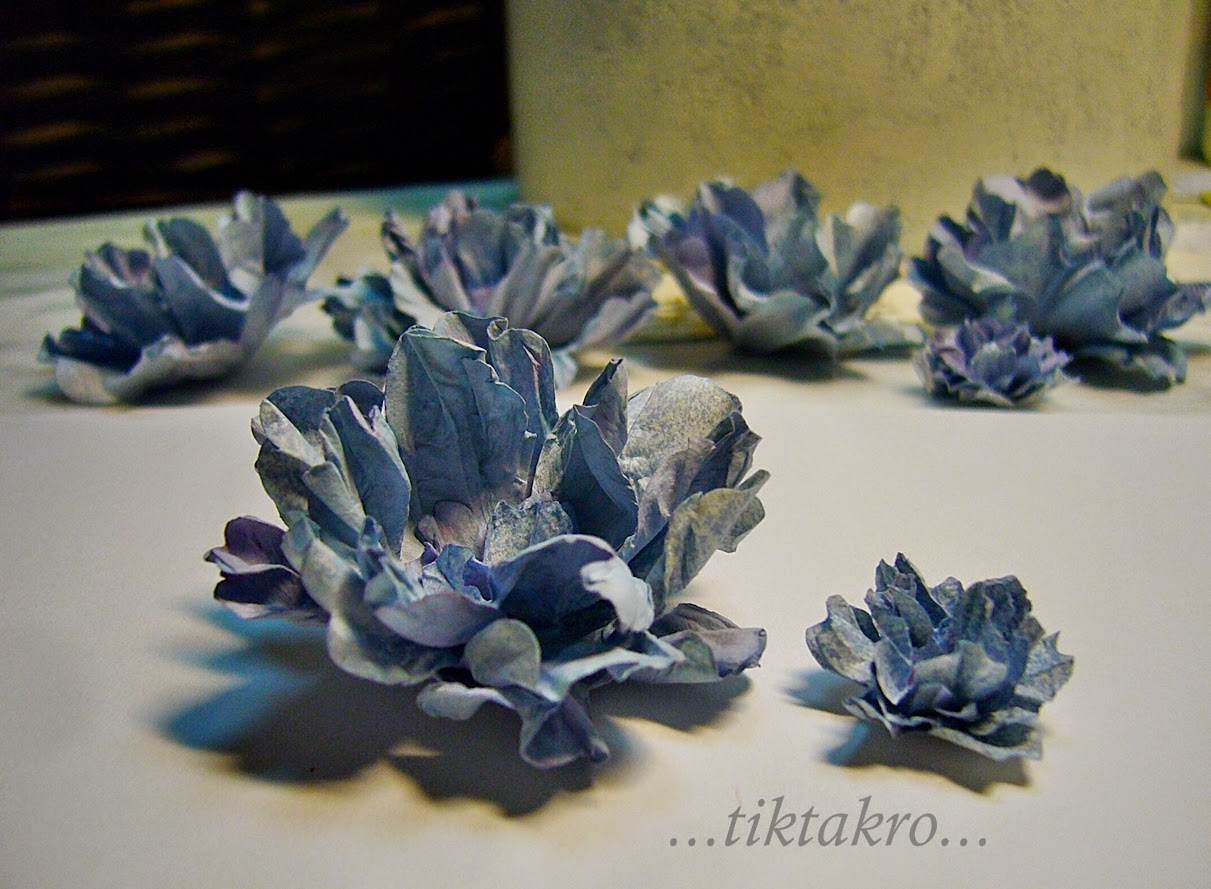
And, as a plus of value, I added my paper flowers that I love so much .
First model of flower ( you have the tutorial here )
this box model can hold also the same variety of sweets as the previous one... here showing some very fine chocolate candies from Gifts & Gifts :
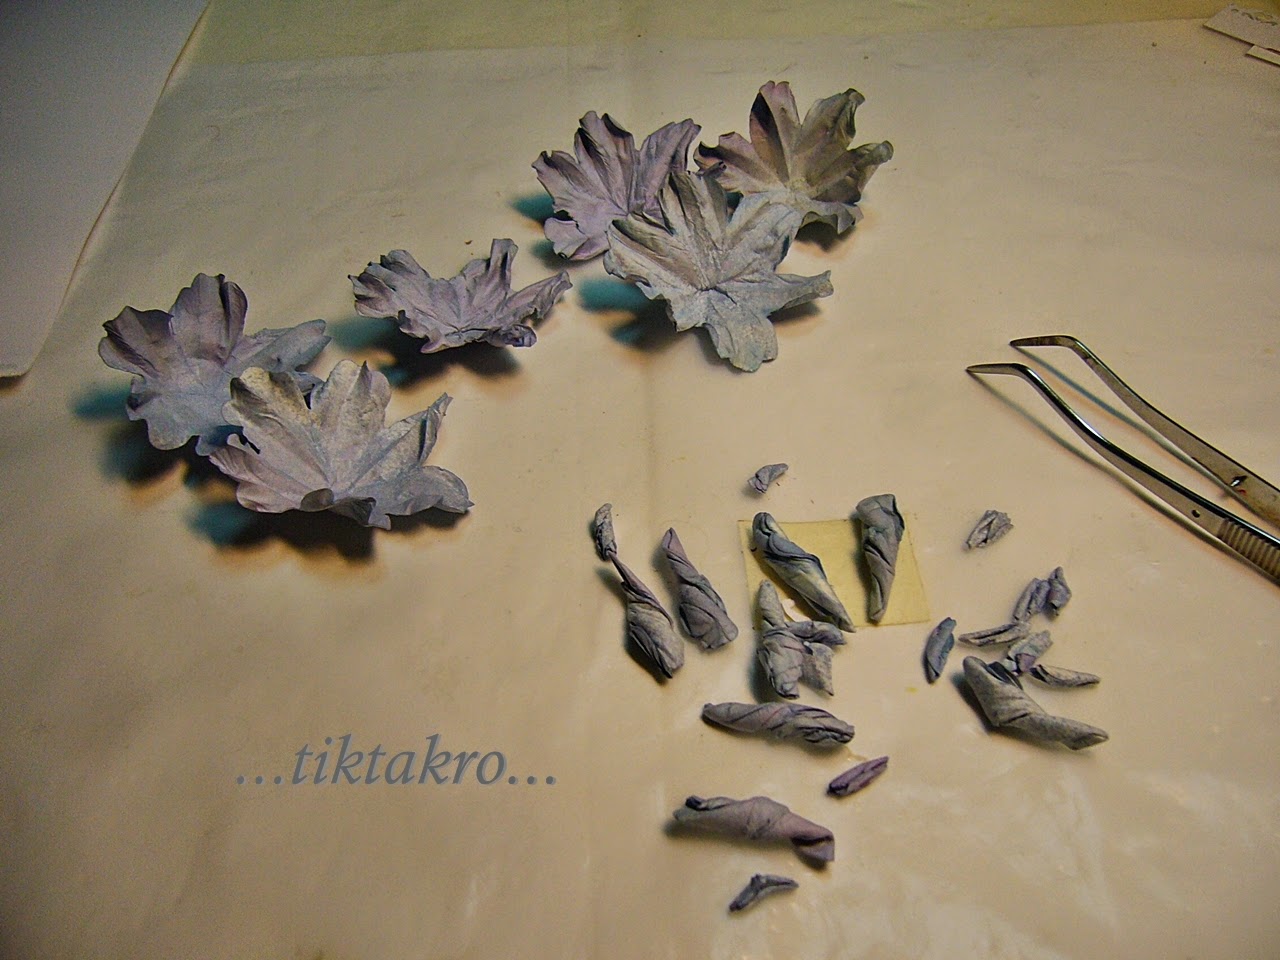
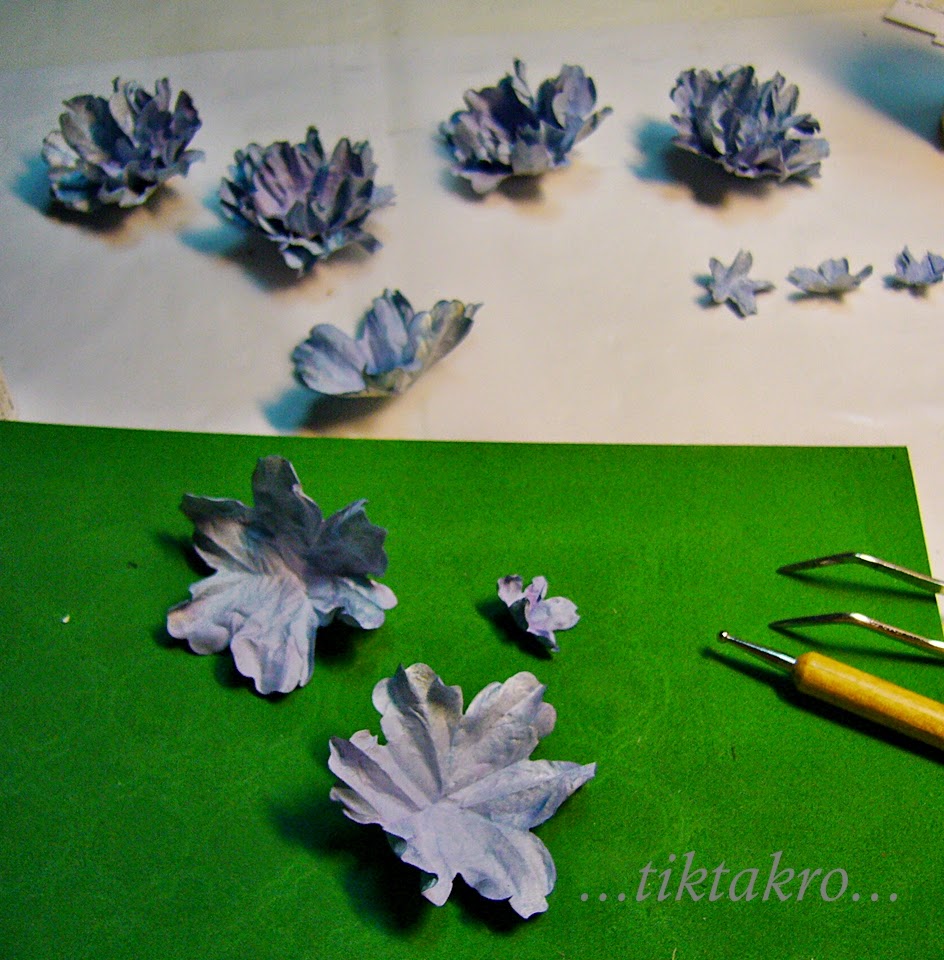
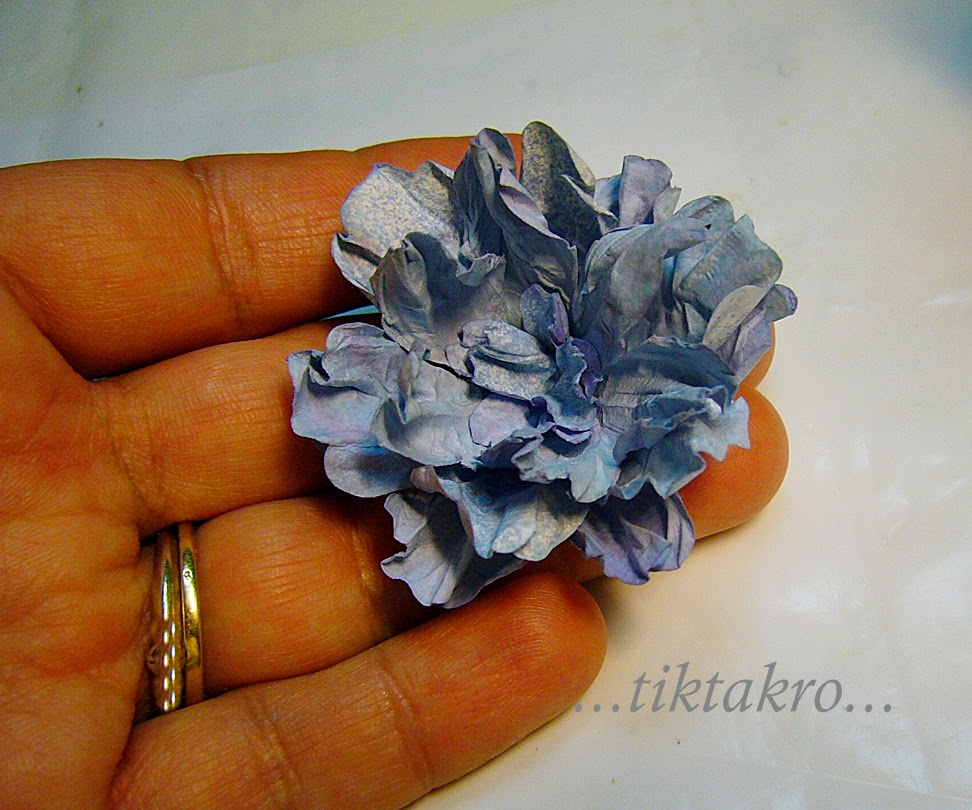
and I continued making another model of paper flower, slightly different than the previous one, settled on the same box type & dimensions :

You know already all about the sweets that can go inside , don't you ?
And finally something ''smashing'' LOL :
it's a big one, 8 cm x 8 cm x 3,5 cm height, and you can put a lot inside. Not just sweets, but jewelries, clothing accessories ( like silk scarfs, handkerchiefs, cashmere socks, necktie, other delicate things ;) etc ) and so on ...
Tomorrow i'll bring you something new. Colored still and different.
Curious about ? stay tuned ;)